
.
...
The template for Part 1 consists of 6 2 slides populated with text and data markers.
| Info | ||
|---|---|---|
| ||
In the downloadable PowerPointWriter_BasicTutorials.zip under ProjectProposal, there is a completed template file located in ProjectProposal/templates/part1_template.pptx. |
1. Open Microsoft PowerPoint and start with a blank .pptx file. Sace the file as part1_template.pptx.
2. (optional) Set the presentation theme by going to the Design tab and selecting on the the built-in themes.
3. A title slide should have been added to the presentation by default. If not, insert a title slide now.
This slide will hold our data markers for the employee name, company logo.
4. In the title text box add the text 'New Employee Training'.
5. Create a new text box underneath the title. This will hold our data marker for our employee name.
6. Place the text 'Welcome,' and the data marker %%=Company.Employee in this text box.
The data marker indicates where the data in the 'Employee' column from the 'Company' data source will be placed.
Our slide so far should look something like the one below:
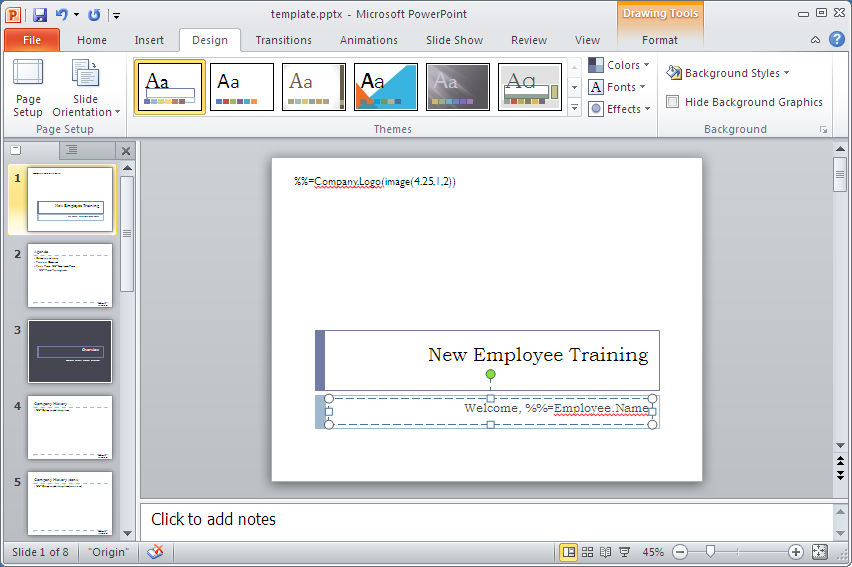
Next we are going to add a data marker that holds the company logo to our slide. To place an image using a data marker into your presentation, the data marker must include the image modifier.
1. Add a text box to the upper left hand corner of the presentation. This will hold our company logo data marker.
2. Place the data marker %%=Company.Logo(image(2,4.25,1)) in the text box.
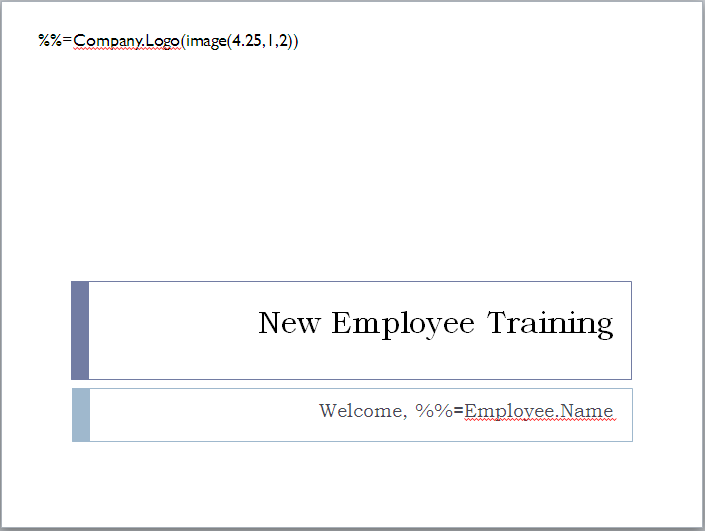
We are using the image modifier with 3 parameters. The first tells PowerPointWriter to use scaling mode 2, meaning that the image will be enlarged or shrunk to fit within the bounds specified, but it will keep its natural aspect ratio.
The second and third parameters are the width and height of the image respectively. All dimensions are in inches.
For more information on scaling modes and the image modifier see the Quick Guide Importing Images.
Our first slide is now complete. It should look similar to the one below.
Our next slide will contain an agenda for the rest of the presentation, including a list of team members.
1. Create a new content slide. The default content slide will consist of two text boxes: one for the title and a large one for the body of the text.
2. Give this slide the title 'Agenda'.
3. Add a third text box in the bottom right of the slide to hold our company logo.
4. Place the data marker %%=Company.Logo(image(2)) in this text box.
This time, our image modifier is only taking one parameter, the scaling mode. This means that the image will take on the dimensions of the text box containing the data marker and be scaled according to the chose mode. Therefore, the text box should be the desired size for the imported image.
The body of our slide is going to contain a list of contents for the remainder of the presentation. It will also include a list of team members for the new employee, which will be imported using a data marker.
5. In the large text box, create a new list. This can be done from the Home tab under Paragraph.
6. Add three items to this list:
Our slide so far should look like the following:

Under the 'Your Team' bullet, we are going to import a list of team members for the new employee. This will require that we import multiple rows from our data source. To import multiple rows in PowerPointWriter, the data marker must be placed in a list entry or table row. see Importing Multiple Rows of Data for more information.
7. Create a new list under the 'Your Team' bullet.
8. Add the data marker %%=Team.TrainingItems as the first entry in the new list.
The entirety of the 'TrainingItems' column will be imported into this list.
This completes our second slide. The completed slide is shown below.

...
| Code Block |
|---|
PowerPointTemplate pptt = new PowerPointTemplate();
|
You can download the code for the Basic PowerPointWriter Tutorials as a Visual Studio solution, which includes the Project Proposal.
...