
.
...
%%=Proposal.Name. When the template is processed, this data marker will get the value from the 'Name' column in the 'Proposal' data source. 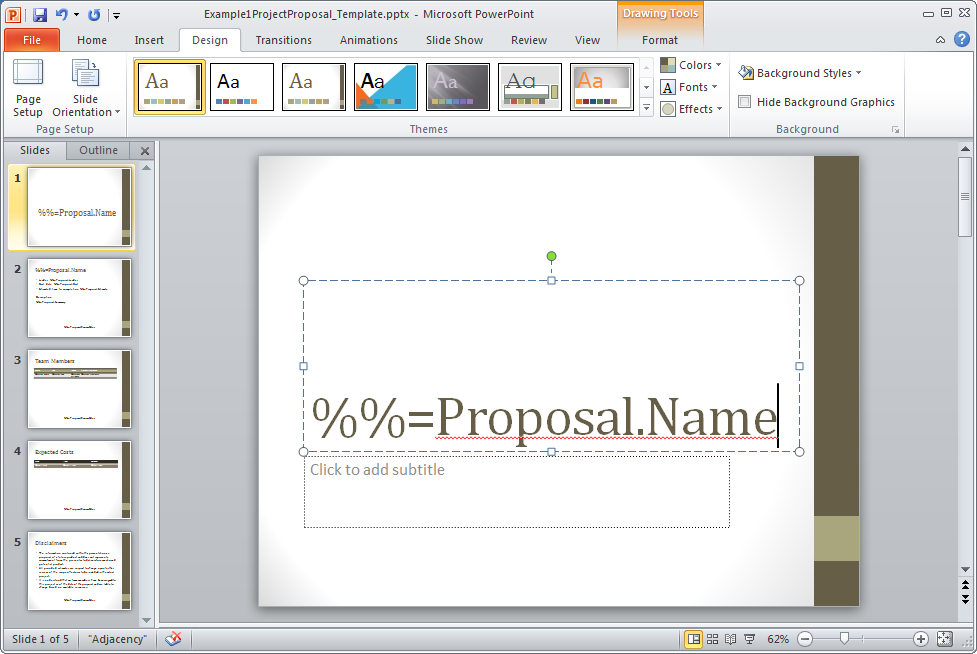
%%=Proposal.Date. %%=Proposal.ReviewStatus into the box. Format with desired font size and formatting. ...
...
...
The finished slide should look like the one below.
...
| Info | ||
|---|---|---|
| ||
There is a sample web application page |
1#. Include the SoftArtisans.OfficeWriter.PowerPointWriter namespace in the code behind
| Code Block |
|---|
using SoftArtisans.OfficeWriter.PowerPointWriter; |
2#. In the method that will actually create the presentation, instantiate the PowerPointTemplate object.
| Code Block |
|---|
PowerPointTemplate pptt = new PowerPointTemplate(); |
3#. Open the template file for the presentation.
| Code Block |
|---|
pptt.Open(Page.MapPath("//templates//part1_template.pptx"));
|
4#. Create a DatabindingProperties object for binding data to the template.
| Code Block |
|---|
DataBindingProperties dataProps = pptt.CreateDataBindingProperties(); |
5#. Create two arrays an array to hold the values for that will appear in the presentation. The first is the array of values to add to the presentation. The second contains the column names. The column names values must match the data markers in the template.
| Code Block |
|---|
//The values to display
 object[] valuesArray = { "Project Name", "Project Date", "Review", "Leader Name", "Start Date", "Cost Estimate", "Project Summary" };
|
#. Create a second array that contains the column names. The column names values must match the data markers in the template.
| Code Block |
|---|
//The column names are the same as the data markers
string[] columnNamesArray = {"Name", "Date", "ReviewStatus", "Leader", "Start", "Estimate", "Summary"};
|
6#. Bind the data to the template. Make sure the data source name is the same as the name used in the template.
| Code Block |
|---|
pptt.BindData(valuesArray, columnNamesArray, "Proposal", dataProps); |
7#. Call process to import the data into the template and save the file.
...