...
A PowerPointWriter template is a PowerPoint presentation that contains PowerPointWriter data markers. A data marker is a line of text beginning with %%= that specifies a database column, variable, or array to insert into the presentation. PowerPointWriter supports data markers embedded in text. Data markers are added to a presentation in PowerPoint and then bound to data sources in code. PowerPointWriter populates the data markers with values from the data sources when the code is executed.
| Excerpt |
|---|
Part 1 of this tutorial demonstrates how to use data markers to import single rows of data. |
Data marker syntax
The basic syntax for a data marker is %%=[DataSourceName].[ColumnName], where DataSourceName is the name of the data source and ColumnName is the name of the column in the data source. You need to follow these rules when naming data markers:
...
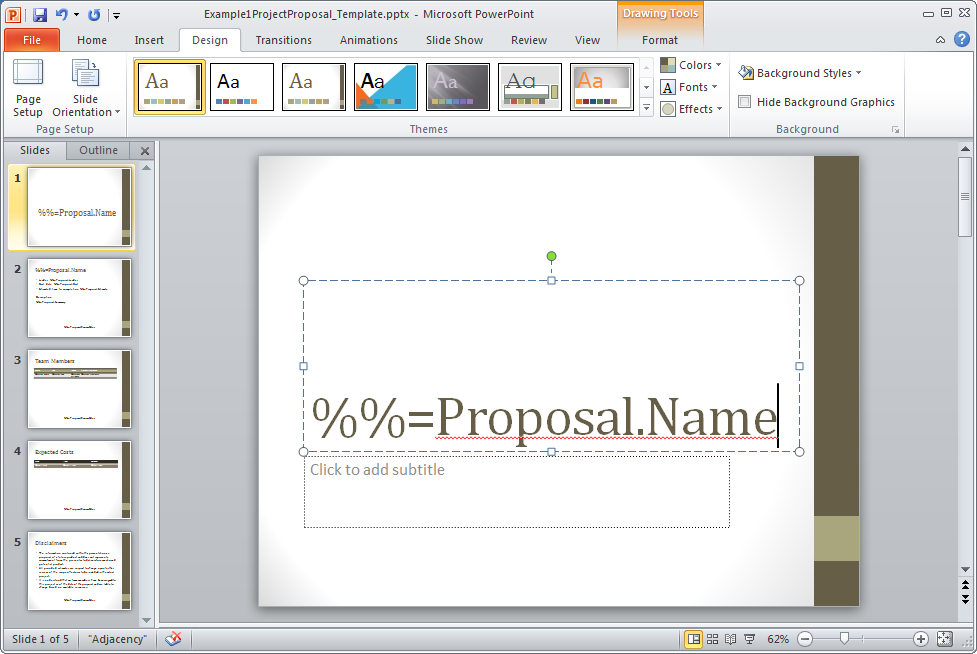
3. Add 3 text boxes to the first slide and populate the . These will hold our data markers for the title, date and review status of the proposed product. Populate the one you want to use as the title with the data marker %%=Proposal.Name. When the data is bound to the template, the name of the proposal will replace the data marker.

In the other two text boxes, add the %%=Proposal.Date, %%=Proposal.ReviewStatus data markers. The final slide should look something like the one below.
...
4. Add a new slide to the presentation. This slide should consist of two text boxes, one for the title and a large one for the body of text. In the title text box, place the data marker %%=Proposal.Name. Note that this is the same as the data marker used on our first slide, and will import the same data.
The rest of the slide will contain additional data about the proposal from the 'Proposal' data source. The data markers we are adding are: %%=Proposal.Leader, %%=Proposal.Start, %%=Proposal.Estimate, %%= Proposal.Summary and %%=Proposal.ReviewStatus. Because
PowerPointWriter supports data markers embedded in text, we so only need one text box for this informationis needed for all of our data markers.
The finished slide should look like the one below.
...