
.
Jump to:
...
Check that your system meets the [System Requirements]. You MUST have SQL Server Reporting Services installed on the machine that you are trying to install OfficeWriter for SSRS. If SSRS is not detected, it will not be available as a custom setup option.
The OfficeWriter for SSRS integration requires modifying several SSRS config files and adding DLLs to the bin directory. To ensure a stable installation, STOP the SQL Server Reporting process before installing OfficeWriter.
Double click the msi to begin installing OfficeWriter for .NET:
| Note |
|---|
If you have a previous version of OfficeWriter installed, you may be prompted to upgrade or remove the existing version of OfficeWriter. We recommend that you follow the steps to remove the previous version of OfficeWriter before continuing with your installation. |
Click Next to proceed to the End-User License Agreement.
Read the End-User License Agreement and click Next when finished.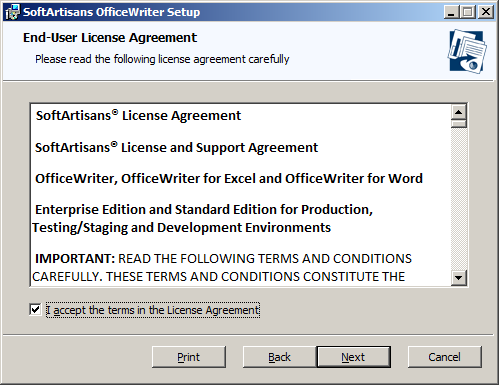
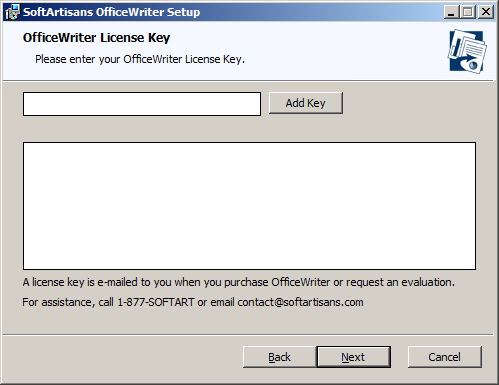
Click Next to proceed to the license key entry.
You will be prompted for a license key. Enter a license key into the box and click Check Key Add Key.
| Note | ||
|---|---|---|
| ||
If you are evaluating, your 30-day OfficeWriter EE license key was sent in your evaluation e-mail. If you have purchased the product, you can find your license keys: |
The installer will confirm what edition (Standard or Enterprise) and product the license key is. Once the license key is verified, the *Next* button will be enabled. Click *Next* to Multiple license keys can be entered at this step. Click Next to proceed to the custom setup options.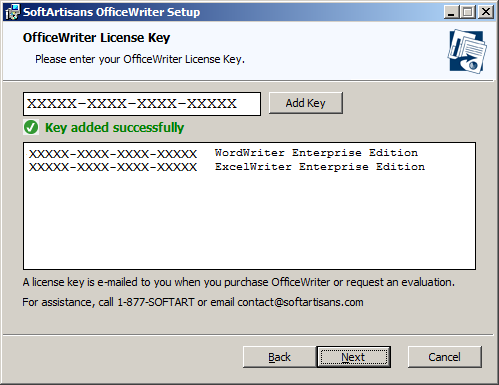
You will need to select the components to install. To include or exclude any components from your installation, click on the drop-down next to the component. Click *Next* when done.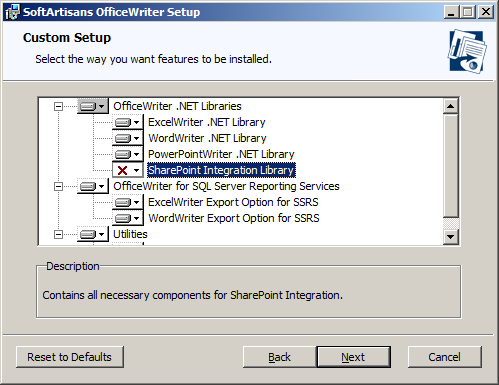
The destination folder is where the OfficeWriter assemblies and utilities will be unpacked. By default, the destination folder will be C:\Program Files\SoftArtisans\OfficeWriter. Click Next when done.
SSRS-specific assemblies will be unpacked to a subfolder called Reporting Services.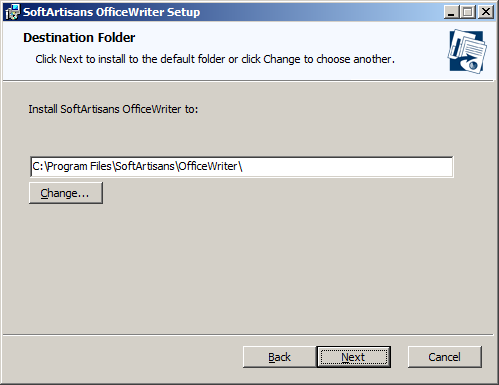
The installer will attempt to locate any instances of SQL Server Reporting Services on the machine. Select the installation to add OfficeWriter to.
You will also be given the option to unpack the original OfficeWriter Designer installer to the destination folder. This is recommended. Click Install when done.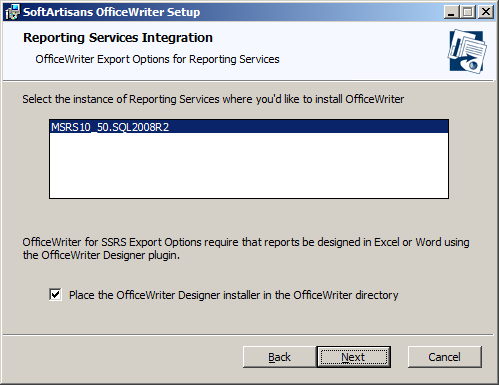
The OfficeWriter installer requires administrative privileges to write the license key to the registry. On Windows Vista and above, depending on your UAC settings, you may be prompted for UAC elevation during the installation process.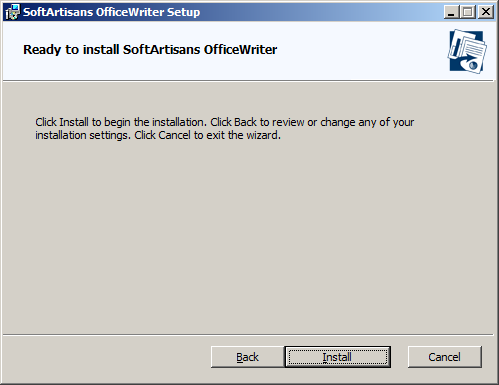
Click Finished to exit the installer.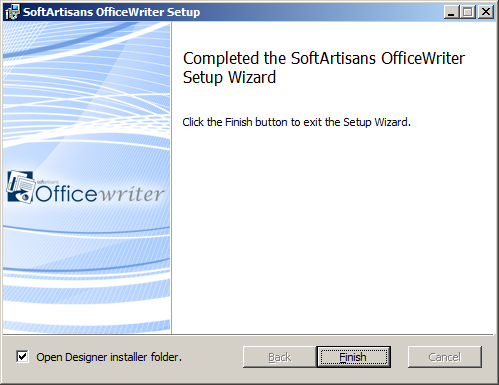
START the SQL Server Reporting Services process to complete the installation process.
...
| Note | ||
|---|---|---|
| ||
There were some significant infrastructure changes made for SSRS 2012 in SharePoint integration mode that require a different manual installation process than from native mode. Please see Manual Install Installing for SSRS 2012 with SharePoint for more details. |
...