...
Creating a Data Source
- Open Excel.
- # Click Add DataSet on the OfficeWriter Designer toolbar.
- # In the dialog box, type in a name for the query (or leave the default name "Query1"). Click Next.
!xlw_NewTemplate1.jpg!
#
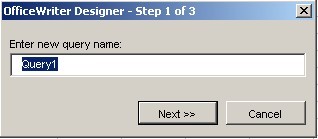 Image Added
- Click Add New to add a new database connection.
!xlw_NewTemplate2.jpg!
#
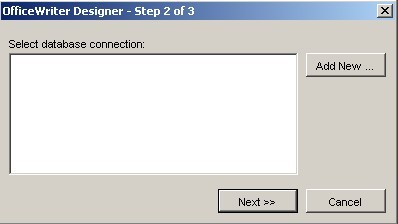 Image Added
- Select New Data Source and click Ok.
!xlw_NewTemplate3.jpg!
#
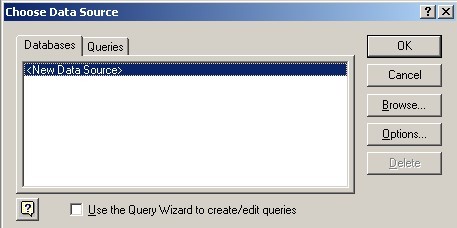 Image Added
- Enter a data source name and select SQL Server from the drop-down list of database drivers. Click Connect.
!xlw_NewTemplate4.jpg!
#
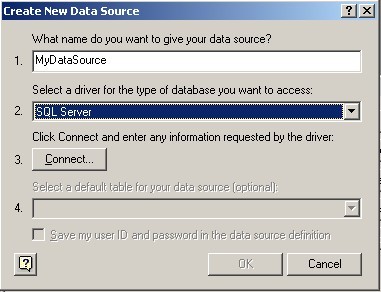 Image Added
- From the drop-down list of server names, select the server where the AdventureWorks database is installed. Click Options and select AdventureWorks as the default database. Click Ok.
!xlw_NewTemplate5.jpg!
#
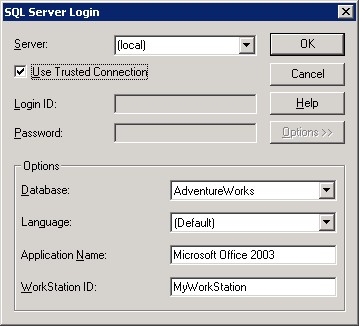 Image Added
- You should now be back at the Create New Data Source screen. Click
Ok.
#
- You will see your new data source in the Choose Data Source dialog. Select it and click Ok to open Microsoft Query.
!xlw_NewTemplate6.jpg!
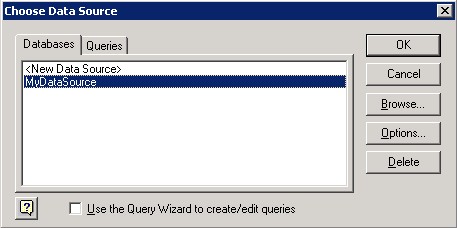 Image Added
Building a Query
...
- In the Add Tables dialog box, find the HumanResources.Employee and Person.Contact table in the list and select Add.
!xlw_NewTemplate7.jpg!
#
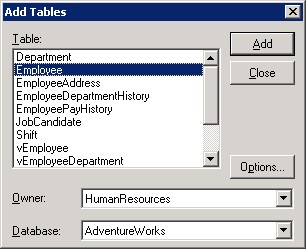 Image Added
- Click Close. The Employee and Contact tables should now be in MS Query.
!xlw_NewTemplate8.jpg!
#
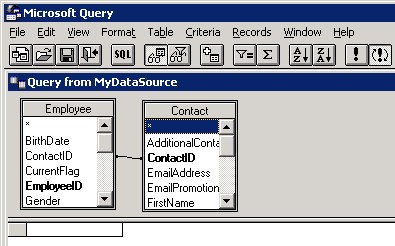 Image Added
- Add the Contact.FirstName, Contact.LastName, and Employee.EmployeeID fields to your query by double-clicking on the items. When you do, the columns will be added to the query.
\
Your query should now look like this:
!xlw_NewTemplate10.jpg!
#
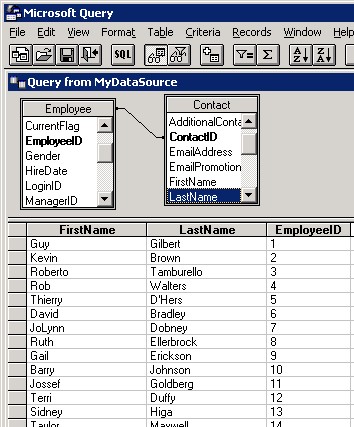 Image Added
- From Microsoft Query's File menu, select Return to OfficeWriter Designer .
...
- Place your cursor in cell A1.
- # Click Data Markers on the OfficeWriter toolbar and navigate the dataset you just created.
#
- Select EmployeeID from the list of fields in the dataset to insert the field in cell A1.
!xlw_NewTemplate13.jpg!
#
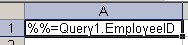 Image Added
- Place your cursor in cell B1.
- # Click Data Markers, navigate to the data set and select Lastname from the list of dataset fields.
#
- Place your cursor in cell C1.
- # Click Data Markers, navigate to the data set and select Firstname fromt he list of dataset fields. Your report should look like this:
!xlw_NewTemplate14.jpg!
 Image Added
Saving and Publishing
...
- From the OfficeWriter Designer toolbar select Save > Save to Disk.
- # Navigate to a local folder where you will store the template report file. This will be where you store your work file in case you want to edit it later, not a location on the Reporting Services server.
#
- Save the template as an RDL file.
...
