...
- Open Microsoft PowerPoint and start with a blank .pptx file. Save the file as part1_template.pptx.
- # (optional) Set the presentation theme by going to the Design tab and selecting one of the built-in themes.
- # A title slide should have been added to the presentation by default. If not, then insert a title slide now.
These will hold our data markers for the title, date and review status of the proposed product.
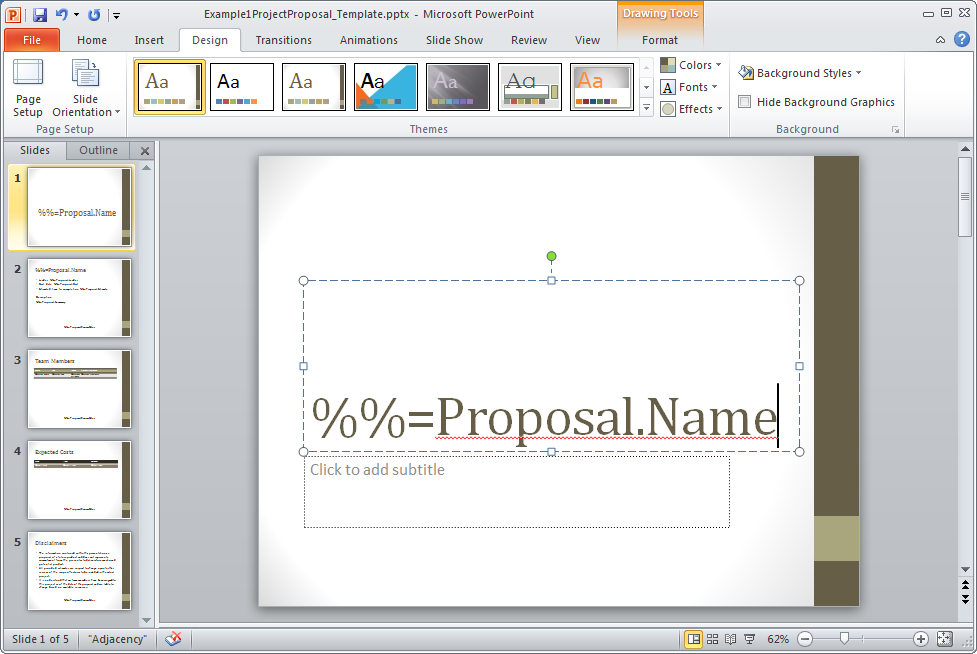
- Populate the title textbox with the data marker
%%=Proposal.Name. When the template is processed, this data marker will get the value from the 'Name' column in the 'Proposal' data source.
#
- In the subtitle box, add
%%=Proposal.Date.
- # Insert a new textbox and place in near the bottom of the slide. This will hold the review status of the project. Type
%%=Proposal.ReviewStatus into the box. Format with desired font size and formatting.
The final slide should look something like the one below.
!SlideOneFinal.png|border=1!
#
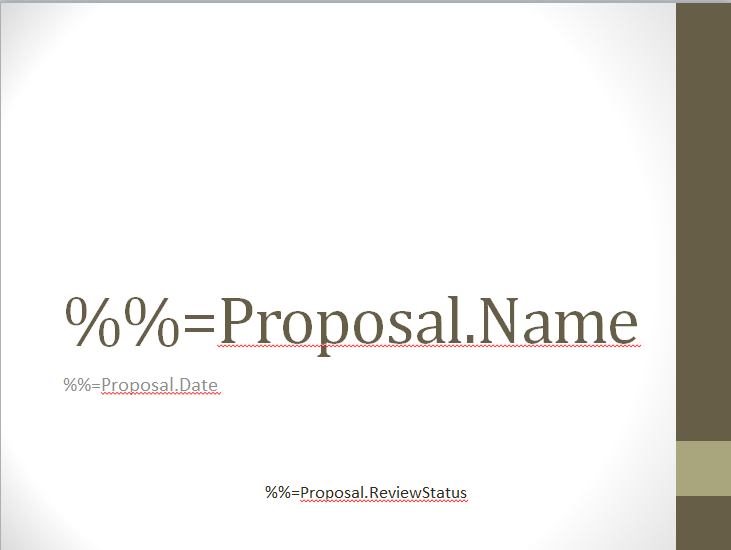 Image Added
- Insert a new content slide. This slide should consist of two text boxes: one for the title and a large one for the body of text.
- In the title text box, place the data marker %%=Proposal.Name. Note that this is the same as the data marker used on our first slide, and will be populated with the same data.
#
- In the large text box add the following text to a list:
- Leader: %%=Proposal.Leader
- Start Date: %%=Proposal.Start
- Estimated time to completion: %%=Proposal.Estimate
- Description: %%= Proposal.Summary
These will contain additional data about our project. PowerPointWriter supports data markers embedded in text, so only one text box is needed for all of our data markers.
...
