
.
Table of Contents |
|---|
In this tutorial ExcelTemplate is being used to populate data and ExcelApplication is being used to format the data. This part of the tutorial will make use of data marker modifiers.
Here is the starting template: 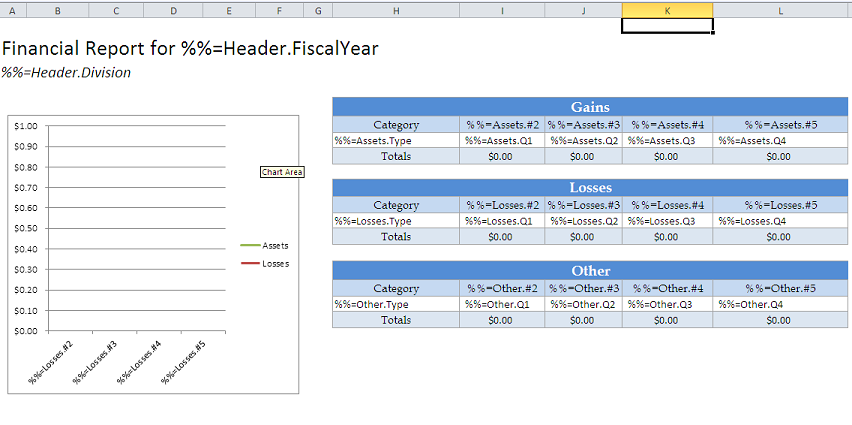
The next few steps will demonstrate adding modifiers.
This template uses two different data marker modifiers - fieldname and optional. Modifiers are added in parentheses at the end of a data marker. They alter the binding behavior of the data marker.
The fieldname modifier shows the fieldname of the column being bound. It will not bind any additional data. It is used like this:
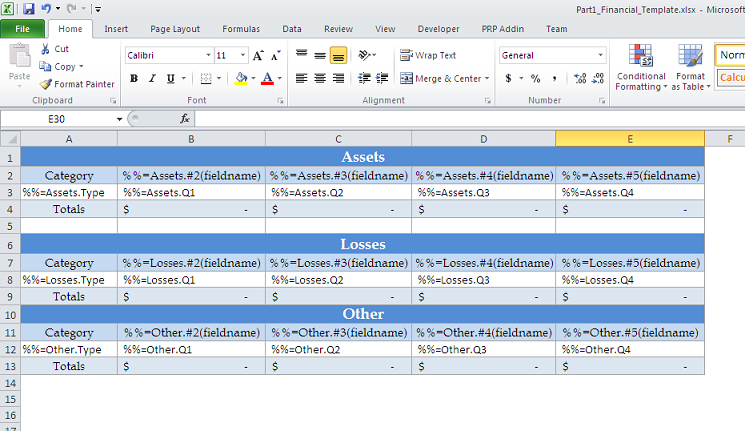
The optional modifier allows that data marker to be ignored on data binding. The optional modifier allows you to bind data if the column might be empty. It is used like this:
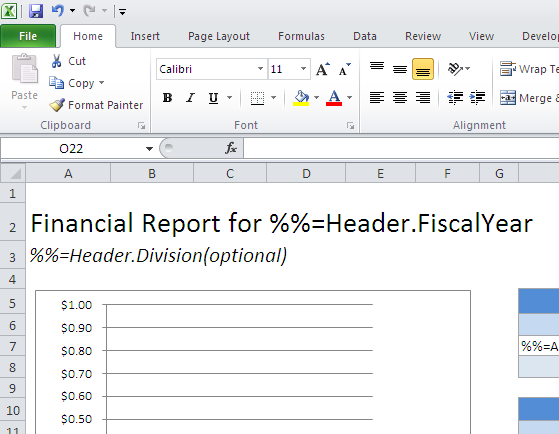
After the modifiers are added, the template should resemble this: 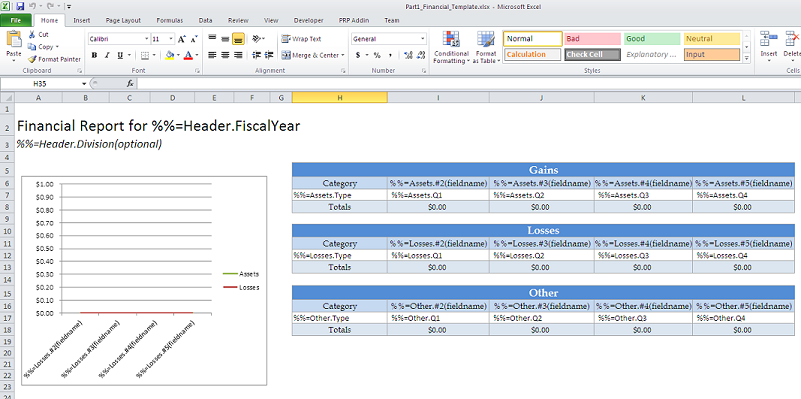
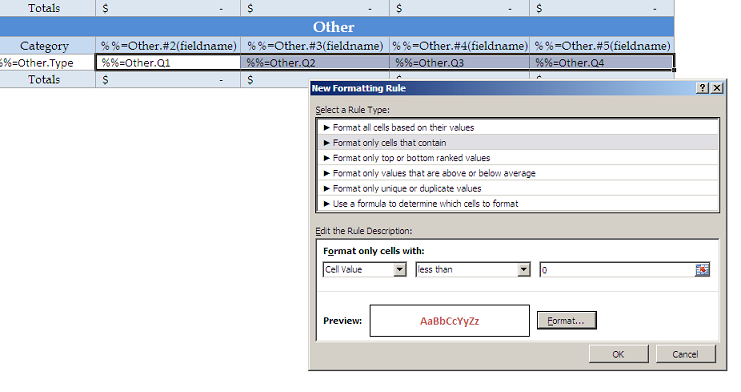
ExcelTemplate will persist conditional formatting in a template. In this tutorial, conditional formatting is applied to the "Other" table. It sets negative numbers to be red and bold.
1. On the "Home" tab in Excel, click on "Conditional Formatting"
2. Select "New Rule..."
3. In this tutorial the condition type is "Format only cells that contain..." The rule is "Cell value less than 0"
4. Click on "Format..." Set the text to be dark red. Set the typeface to be bold.
5. Click OK to save the rule.
Create a .NET project and add a reference to the ExcelWriter library.
1. Include the SoftArtisans.OfficeWriter.ExcelWriter namespace in the code behind
2. In the method that will run the report, instantiate the ExcelTemplate object.
3. Open the template file with the ExcelTemplate.Open method.
4. Create a DataBindingProperties object. None of the binding properties will be changed for this tutorial, but DataBindingProperties is a required parameter in ExcelTemplate data binding methods.
1.Get the data for the Assets, Losses, and Other datasets
These calls are to a helper method GetCSVData that parses the CSV files and returns a DataTable with the values.
If you are following in your own project and would like to parse the CSV files as well, you will need to:
GenericParsing.dllGeneringParsing at the top of your code.GetCSVData method that can be found in the sample code.2. Create the datasets for the header row. Recall the optional modifier for the "Division" tag. This tutorial will not bind any data for that tag to demonstrate the function.
3. Use ExcelTemplate.BindData to bind the data for the Assets, Losses, and Other data sets.
4. Use the ExcelTemplate.BindRowData method to bind the header data to the data markers in the template file (i.e. %%=Header.FiscalYear).
5. Call ExcelTemplate.Process() to import all data into the file.
Do not save the file. In the next step the XLT object will be processed by ExcelApplication.
Without the post processing, the populated file will persist the column width and heights. It should look something like this: 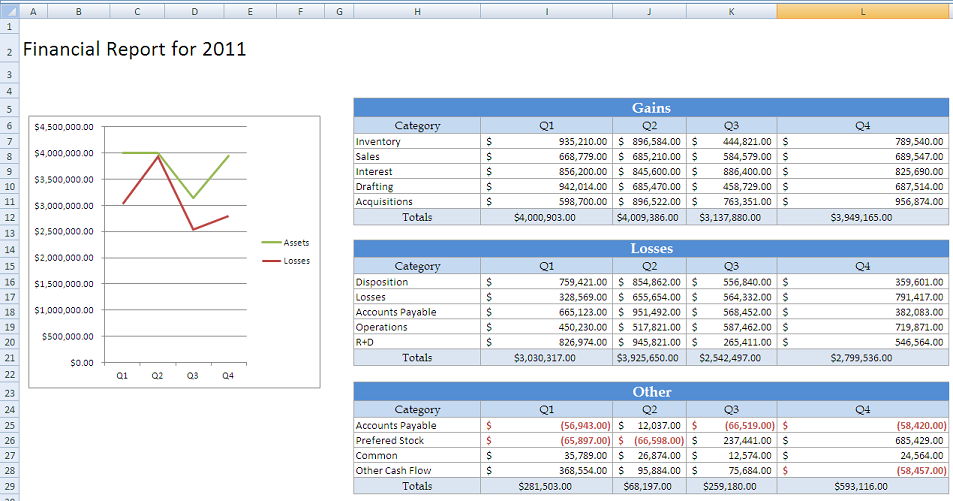
1. In the post-processing method, instantiate the ExcelApplication object:
2. Open the populated file with ExcelApplication. The file will open as a Workbook object
3. Access the first Worksheet.
4. Call Area.AutoFitHeight() and Area.AutoFitWidth() to set the column and row height. AutoFitWidth sets the column width to fit the widest populated cell in the column. AutoFitHeight sets the row height to highest populated cell in the row. In this snippet, the area is Worksheet.PopulatedCells, which returns an area containing all populated cells.
5. Finally, call ExcelApplication.Save to save the final file. This example streams the file using the page response.
The final output should look something like this: 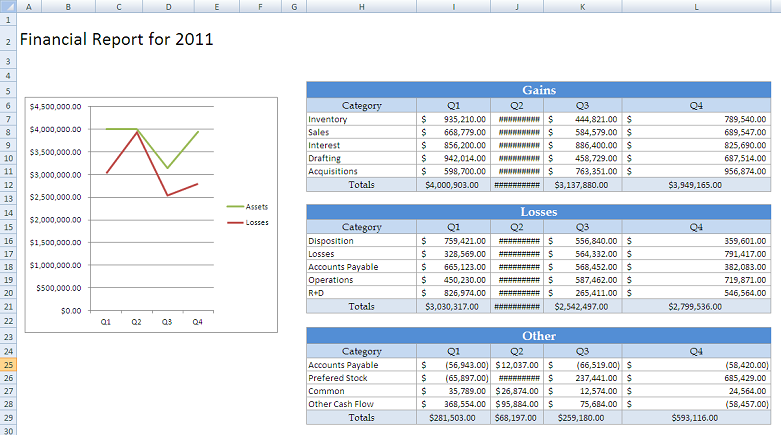
You can download the code for the Financial Report here.
