Jump to:
Automatic Installation
Introduction
The OfficeWriter 8 installer is available in 64-bit (OfficeWriter-Installer-9.#.#-x64.msi) and 32-bit (OfficeWriter-Installer-9.#.#-x86.msi). The bitness refers to the bitness of the operating system, not the version of SQL Server Reporting Services.
There is a single OfficeWriter installer that that handles installing any configuration of OfficeWriter, regardless of which edition (SE or EE) or components (ExcelWriter, PowerPointWriter, WordWriter, SSRS integration) you have purchased.
Running the Installer
Check that your system meets the [System Requirements]. You MUST have SQL Server Reporting Services installed on the machine that you are trying to install OfficeWriter for SSRS. If SSRS is not detected, it will not be available as a custom setup option.
The OfficeWriter for SSRS integration requires modifying several SSRS config files and adding DLLs to the bin directory. To ensure a stable installation, STOP the SQL Server Reporting process before installing OfficeWriter.
Double click the msi to begin installing OfficeWriter for .NET:
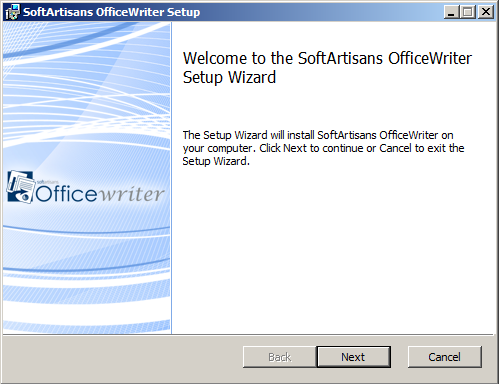
Click Next to proceed to the End-User License Agreement.
Read the End-User License Agreement and click Next when finished.
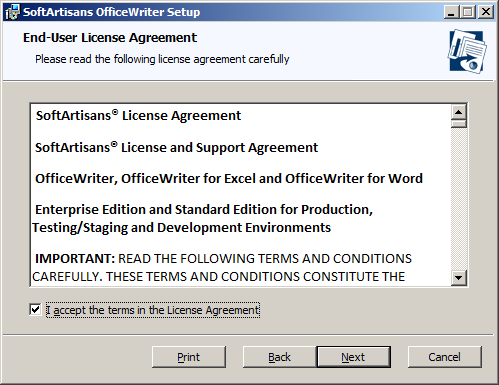
Click Next to proceed to the license key entry.
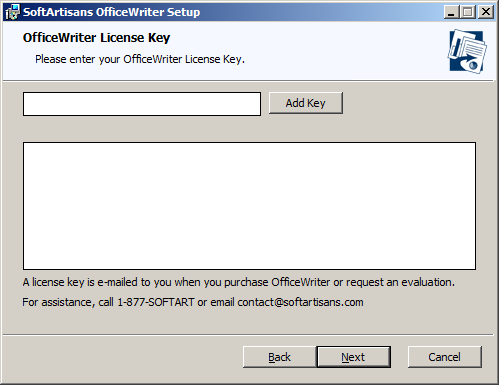
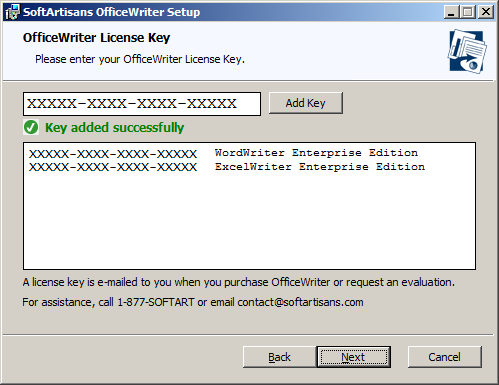
You will be prompted for a license key. Enter a license key into the box and click Add Key.
The installer will confirm what edition (Standard or Enterprise) and product the license key is. Multiple license keys can be entered at this step. Click Next to proceed to the custom setup options.
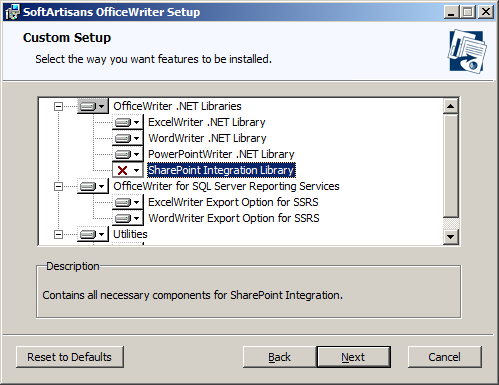
You will need to select the components to install. To include or exclude any components from your installation, click on the drop-down next to the component. Click *Next* when done.
The destination folder is where the OfficeWriter assemblies and utilities will be unpacked. By default, the destination folder will be C:\Program Files\SoftArtisans\OfficeWriter. Click Next when done.
SSRS-specific assemblies will be unpacked to a subfolder called Reporting Services.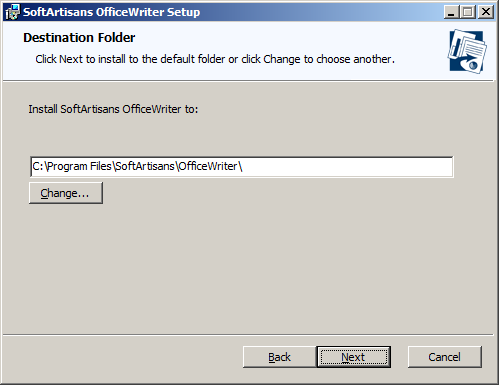
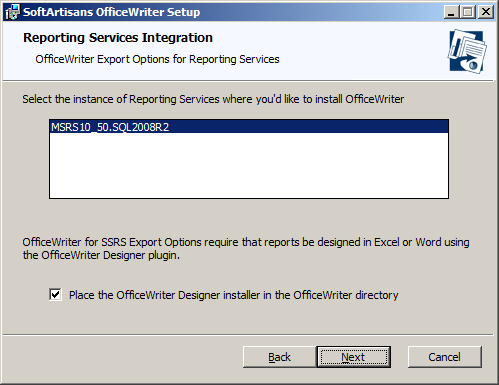
The installer will attempt to locate any instances of SQL Server Reporting Services on the machine. Select the installation to add OfficeWriter to.
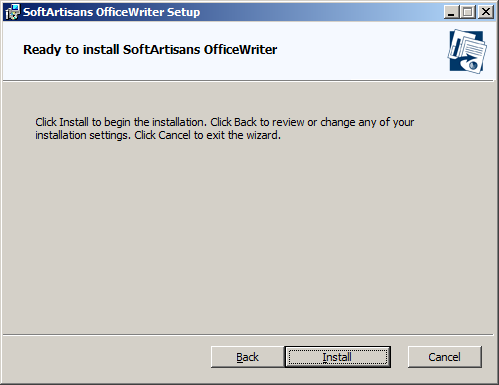
You will also be given the option to unpack the original OfficeWriter Designer installer to the destination folder. This is recommended. Click Install when done.
The OfficeWriter installer requires administrative privileges to write the license key to the registry. On Windows Vista and above, depending on your UAC settings, you may be prompted for UAC elevation during the installation process.
Click Finished to exit the installer.
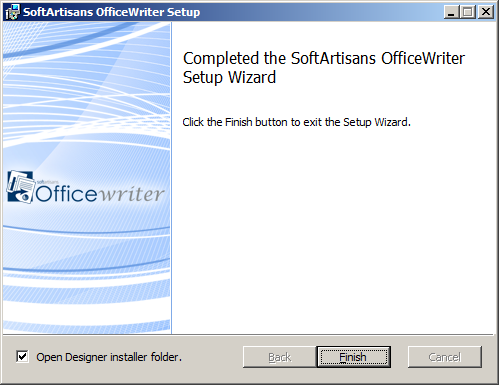
START the SQL Server Reporting Services process to complete the installation process.
Manual Installation
Installation Files
The following files are unpacked to the destination folder selected during the automatic installation process and are needed for the manual installation process.
Installation Files
| Product | File | Description |
|---|---|---|
| ExcelWriter | SoftArtisans.OfficeWriter.ExcelWriter.dll |
|
| PowerPointWriter | SoftArtisans.OfficeWriter.PowerPointWriter.dll |
|
| WordWriter | SoftAartisans.OfficeWriter.WordWriter.dll |
|
| Reporting Services Integration | SoftArtisans.OfficeWriter.SSRS2008.dll or SoftArtisans.OfficeWriter.SSRS2005.dll |
|
| License Manager | LicenseManager.exe | Manage, add, and remove license keys for OfficeWriter. |
Installing OfficeWriter for SSRS
Run the OfficeWriter installer on another machine with SQL Server Reporting Services to unpack the necessary installation files (see above).
Make sure that your system meets the System Requirements.
Installing OfficeWriter for SSRS requires modifying several SSRS config files and dropping DLLs in the bin directory. STOP SQL Server Reporting Services process before installing OfficeWriter.
Copy the following files to <MSSQL Directory>\Reporting Services\ReportServer\bin
SoftArtisans.OfficeWriter.RS2005.dll (for Reporting Services 2005) or SoftArtisans.OfficeWriter.RS2008.dll (for Reporting Services 2008 or Reporting Services 2012)
SoftArtisans.OfficeWriter.WordWriter.dll
SoftArtisans.OfficeWriter.ExcelWriter.dll
Run LicenseManager.exe to install the OfficeWriterEE or OfficeWriterSE key
Modify the RSReportServer.config file in <MSSQL Directory>\Reporting Services\ReportServe*. Copy the following report rendering extension declaration to the file's <Render> node:
For Reporting Services 2005:For Reporting Services 2008 or 2012:
Modify the rssrvpolicy.config file in <MSSQL Directory>\Reporting Services\ReportServer. Add the following security trust codegroup to the file's <CodeGroup> node:
To install the samples, upload the RDL files in OfficeWriter\ReportingServices\Samples to the Reporting Server using Report Manager.

