
.
Jump to: |
|---|
The OfficeWriter 8 installer is available in 64-bit (OfficeWriter-Installer-8.#.#-x64.msi) and 32-bit (OfficeWriter-Installer-8.#.#-x86.msi).
Welcome Screen
Double click the msi to begin installing OfficeWriter for .NET:
Note: If you have a previous version of OfficeWriter installed, you may be prompted to upgrade or remove the existing version of OfficeWriter. We recommend that you follow the steps to remove the previous version of OfficeWriter before continuing with your installation.
Click Next.
End-User License Agreement
Read the End-User License Agreement and click Next when finished.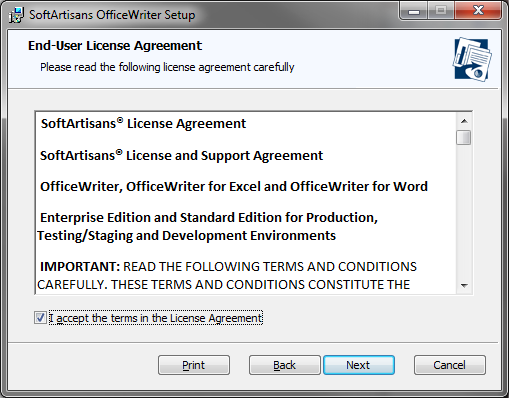
Click Next.
OfficeWriter License Key
You will be prompted for a license key.
Enter a license key into the box and click Check Key.
The installer will confirm what edition (Standard or Enterprise) the license key is. Once the license key is verified, the Next button will be enabled. You can add multiple license keys at this step.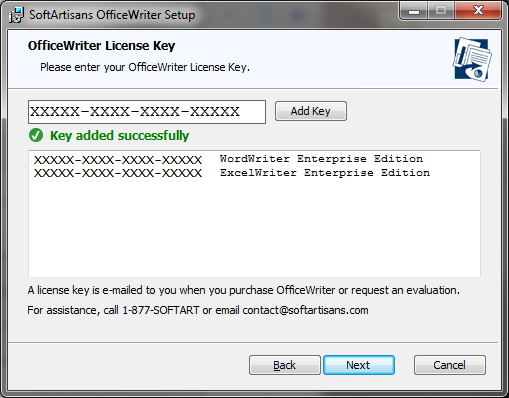
Custom Setup
You will need to select the components to install. To include or exclude any components from your installation, click on the drop-down next to the component.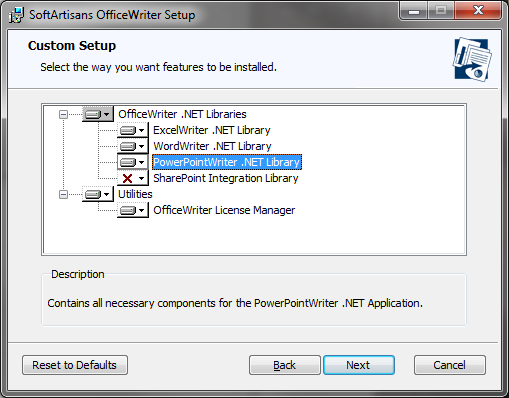
The components that are available for installation are based on the license key that was provided earlier. If you run the installer on a machine that has SQL Server Reporting Services installed, the installer will make the SSRS integration available.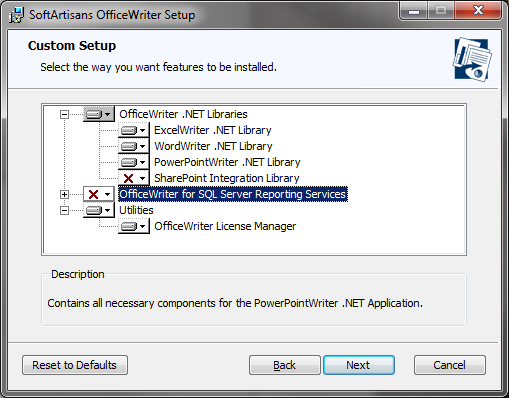
Destination Folder
The destination folder is where the OfficeWriter assemblies and utilities will be unpacked. By default, the destination folder will be C:\Program Files\SoftArtisans\OfficeWriter.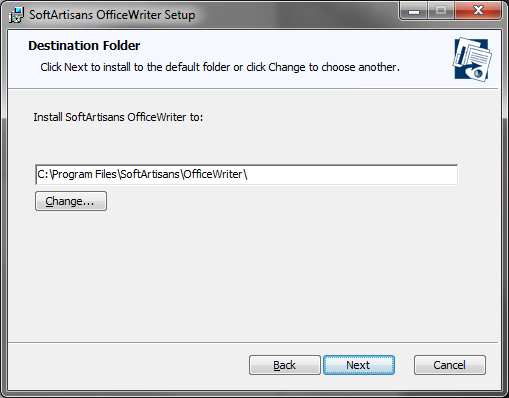
Ready to install
The OfficeWriter installer requires administrative privileges to write the license key to the registry. On Windows Vista and above, depending on your UAC settings, you may be prompted for UAC elevation during the installation process.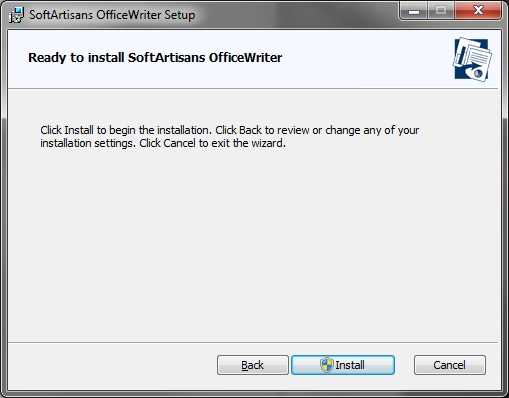
Click Install to start the installation. This will register the license key provided earlier and unpack the following files:
Installation Files
| Product | File | Description |
|---|---|---|
| ExcelWriter | Softartisans.OfficeWriter.ExcelWriter.dll |
|
| WordWriter | Softartisans.OfficeWriter.WordWriter.dll |
|
| License Manager | LicenseManager.exe | Manage, add, and remove license keys for OfficeWriter. |
| SharePoint Integration | SoftArtisans.OfficeWriter.ExcelWriter.SharePointIntegration.dll | SharePoint Specific Functions (EE only) |
Setup Complete
Follow the instructions above to perform the automatic installation on a separate machine. This will unpack the assemblies and utilities needed to perform a manual installation.
Copy LicenseManager.exe and SoftArtisans.OfficeWriter.ExcelWriter.dll or SoftArtisans.OfficeWriter.WordWriter.dll to the new machine.
Open LicenseManager.exe to add the new license keys to the registry.
Writing to the registry requires administrative privileges. If you are using a newer operating system (Windows Vista, Windows 7, or Windows Server 2008), you will need to right click LicenseManager.exe and select Run as Administrator.
Jump to: |
|---|
When upgrading to a newer version of OfficeWriter, it is recommended that you Remove the existing version of OfficeWriter and then follow the instructions to Install OfficeWriter for .NET or SSRS.
When upgrading from OfficeWriter 3 (ExcelWriter 6, WordWriter 3) to OfficeWriter 4 or later, some changes to your .NET code may be required.
For details see:
Jump to: |
|---|
If OfficeWriter was installed with the automatic installer, use Add/Remove Programs to remove OfficeWriter and all of its associated installation files:
1.From the Start menu, select Settings -> Control Panel.
2.Double-click Add/Remove Programs.
3.Select SoftArtisans OfficeWriter or SoftArtisans OfficeWriter Designer.
4.Click the Change/Remove button to remove the old copy of OfficeWriter.
1. Run LicenseManager.exe to remove the license keys from the registry.
2. Remove all copies of SoftArtisans.OfficeWriter.ExcelWriter.dll and SoftArtisans.OfficeWriter.WordWriter.dll from your machine.
1. Remove the SoftArtisans_OfficeWriter_Strong_Name security trust codegroup from rssrvpolicy.config.
2. Remove the XLTemplate and WordTemplate rendering extensions from rsreportserver.config.
3. Remove SoftArtisans.OfficeWriter.RS2008.dll or SoftArtisans.OfficeWriter.RS2005.dll, SoftArtisans.OfficeWriter.ExcelWriter.dll and SoftArtisans.OfficeWriter.WordWriter.dll from <MSSQL Directory>\Reporting Services\Report Server\bin.
4. Stop and start Reporting Services (if 2008 or later) or restart IIS (if 2005) for the changes to take affect.
5. Run LicenseManager.exe to remove the license keys from the registry.
1. Remove all registry keys listed under HKEY_Current_USER\Software\SoftArtisans\OfficeWriter\Designer.
2. Remove SAWordTemplateAddIn.dotm from %appdata%\Microsoft\Word\STARTUP and SAExcelTemplateAddIn.xlam from %appdata%\Microsoft\Excel\XLSTART.
3. Open a command prompt window and move to the directory OfficeWriter\Designer or to the directory where the installation files are stored.
4. Enter regsvr32 /u SARS8CLT.dll to unregister SARS8CLT.dll.
5. Enter regsvr32 /u OWAssist.dll to unregister OWAssist.dll.
6. Enter regsvr32 /u XFClient.dll to unregister XFClient.dll.
