After saving your report definition locally, you are ready to publish your report to the Reporting Services server. Publishing will submit the report file to the Reporting Services server. On the server, the OfficeWriter renderer will regenerate the template, and - using data supplied by Reporting Services - replace the merge fields in the document with database values.
To publish your report:
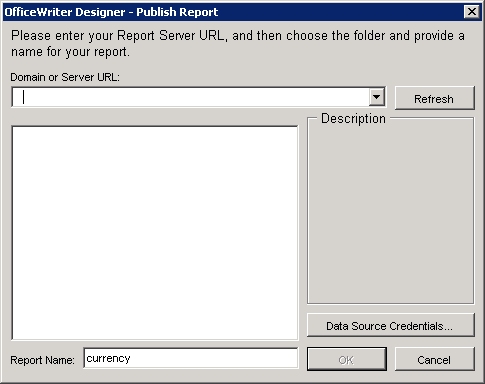
- From the OfficeWriter Designer, select Save and Deploy to Remote Server. The Publish Report dialog will open.
- In the Domain or Server URL field, enter the path to your Reporting Services server (for example http://MyReports/ReportServer).
- Click Refresh. OfficeWriter will display the folders available on the server.
- Navigate to the destination folder for your report.
- In the Report Name field (at the bottom of the Publish Report dialog), enter a name for your report.
- Optional: Click Data Source Credentials to specify how the report will link to the data. You may also do this from the Reporting Services Report Manager after you publish your report. See the Reporting Services documentation for the meaning of the different data source credentials options.
Click here to see the Data Source Credentials screen. - Click Ok. If your report was already published on the server, you will be asked to overwrite it. When the report is published, you will receive a message box telling you that publishing was successful.


