The Save to Disk dialog opens when you select OfficeWriter Designer .NET > Save > Save to Disk. It allows you to save your current RDL to disk and sets the format of the report when it is exported.
To save a copy of your report locally:
- Click Save on the OfficeWriter Designer .NET toolbar.
- Select Save to disk.
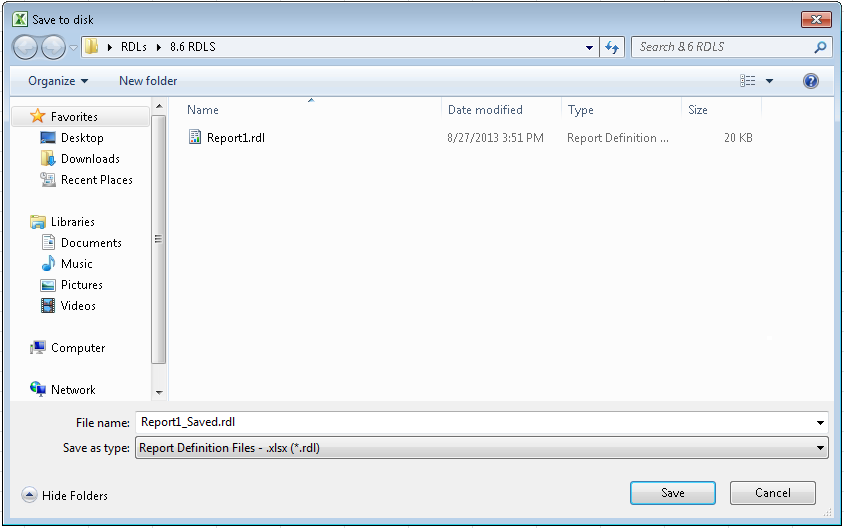
- Browse to the destination folder.
- In the file name field, enter a name for your report.
- From the drop-down menu, select .xls, .xlsx, or .xlsm. This will be the file format that is exported from Reporting Services when running the report.

- Click OK. If a report with the same name was already saved to the specified location, you will be asked to overwrite it.


