
.
A report definition file (an RDL file) includes a set of layout instructions and a database query that gets report data when the file is executed by Reporting Services. RDL files are xml-based and are saved with the extension .rdl. After creating a report template with OfficeWriter, you save it as an RDL file and publish it on the Reporting Services server.
You can open a saved RDL file in Excel and add OfficeWriter template information to it. If the saved report defintion was not created using OfficeWriter, only its database query will be available for use. The query fields will appear in a drop-down list on the OfficeWriter toolbar. You will be able to insert these fields as merge fields (data placeholders) in your report template, and will not be able to create additional queries. Whey you save the file, the OfficeWriter template information will be added to the RDL file. The advantages of adding a template to an existing RDL file are:
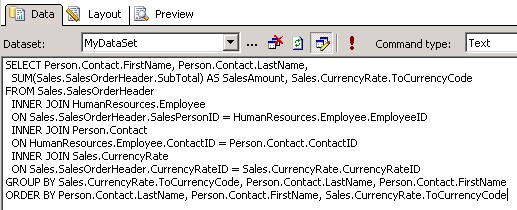
We will open report definition created in Visual Studio and work with it using the OfficeWriter Designer. The report file This section assumes that the RDL file being opened was created in Visual Studio contains the following query:
To open the RDL:
Once your report is open, you will notice the OfficeWriter Designer toolbar has changed. You do not have access to Add Query, Edit Query, or Delete Query because you opened a report definition file that was not created with OfficeWriter.

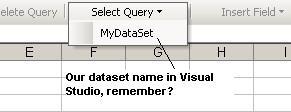
From this point on, all the other OfficeWriter functionality is accessible. To test this, choose Select Query from the OfficeWriter Designer toolbar. You should see the query created in Visual Studio in the list. Choose this query.
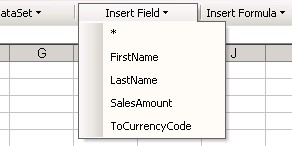
Click Insert Merge Field to reveal the fields created in Visual Studio.
...
...
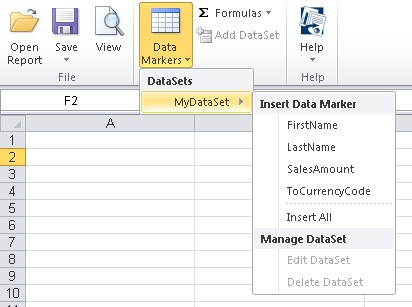
If you go to Data Markers you will now see that the dataset is available in the DataSets drop-down and the fields from the query are available for use in the Designer. The fields can be added to the Excel report as data markers (data placeholders).
| Info |
|---|
Since this report was designed in Visual Studio, the MS Query functions to Add, Edit, and Delete datasets are not available. They will only be enabled for reports that are created in the OfficeWriter Designer using MS Query. |
The next step is to design the report with the OfficeWriter Designer toolbar. We have several articles for how to develop reports with the OfficeWriter Designer in Excel:
When you save the file, the OfficeWriter template information will be added to the RDL file. To save the template information to the RDL:
See Saving and Deploying Your Excel Report for more information.
Once the report
...
...
We saw how our report looks in Excel using the OfficeWriter Designer View button. But what happens if we go right to Reporting Services Report Manager and view the report from there? In your browser, type the path to the Report Manager (Usually http://<YourReportServer>/Reports). Navigate to the report and view it.
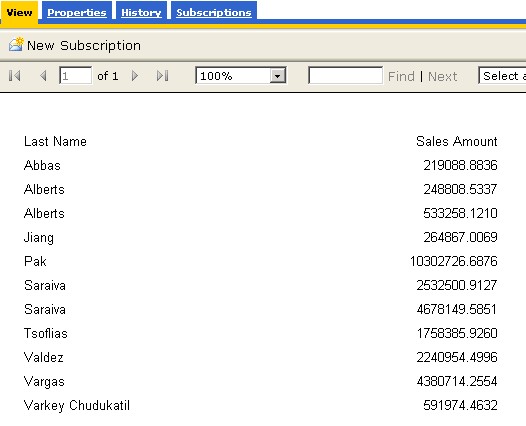
What is different? Why do we have two fields on our report when in OfficeWriter Designer we had four? The report was originally designed in Visual Studio, not OfficeWriter Designer. When the report renders, or displays, in Reporting Services Report Manager, it will display the way it was originally designed in Visual Studio.
To see the report as you designed it with OfficeWriter:
has been deployed to the report server, you can view the report from within the OfficeWriter Designer by clicking View or going to Report Manager and exporting the report in the OfficeWriter for Excel rendering option.