Server-Side OfficeWriter
Automatic Installation
The OfficeWriter 8 installer is available in 64-bit (OfficeWriter-Installer-8.#.#-x64.msi) and 32-bit (OfficeWriter-Installer-8.#.#-x86.msi).
1. Welcome Screen
Double click the msi to begin installing OfficeWriter for .NET:
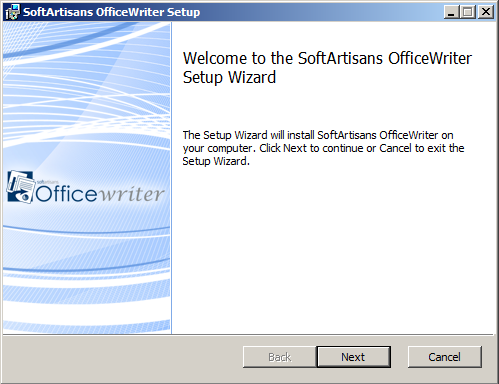
Note: If you have a previous version of OfficeWriter installed, you may be prompted to upgrade or remove the existing version of OfficeWriter. We recommend that you follow the steps to remove the previous version of OfficeWriter before continuing with your installation.
Click Next.
2. End-User License Agreement
Read the End-User License Agreement and click Next when finished.
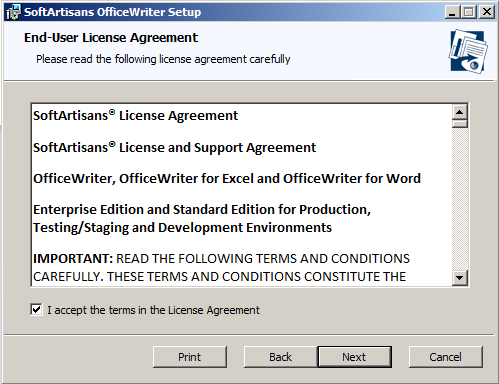
Click Next.
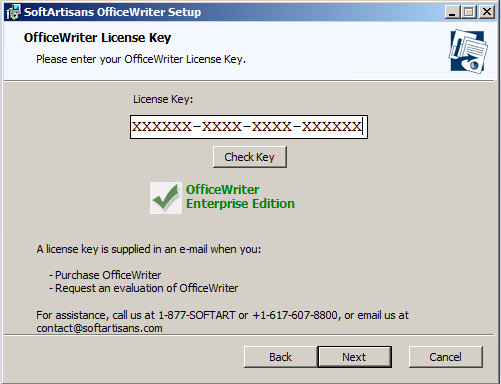
3. OfficeWriter License Key
You will be prompted for a license key.
Enter a license key into the box and click Check Key.
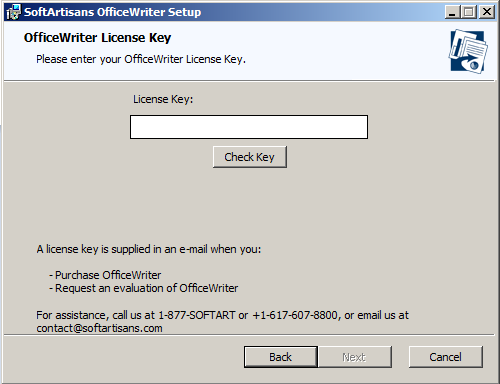
The installer will confirm what edition (Standard or Enterprise) the license key is. Once the license key is verified, the Next button will be enabled.
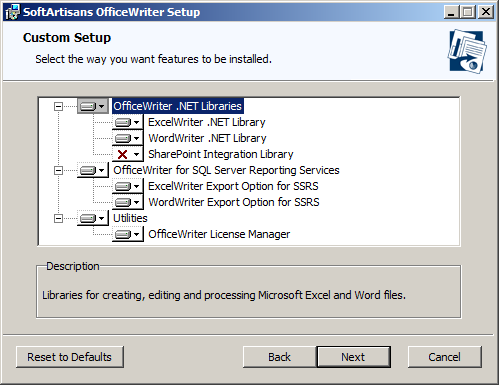
4. Custom Setup
You will need to select the components to install. To include or exclude any components from your installation, click on the drop-down next to the component.
5. Destination Folder
The destination folder is where the OfficeWriter assemblies and utilities will be unpacked. By default, the destination folder will be C:\Program Files\SoftArtisans\OfficeWriter.
SSRS-specific assemblies will be unpacked to a subfolder called Reporting Services.

6. Reporting Services Integration
The installer will attempt to locate any instances of SQL Server Reporting Services on the machine. Select the installation to add OfficeWriter to.
You will also be given the option to unpack the OfficeWriter Designer installer to the destination folder. This is recommended.

7. Ready to install
The OfficeWriter installer requires administrative privileges to write the license key to the registry. You will be prompted for administrative credentials before the installation begins.
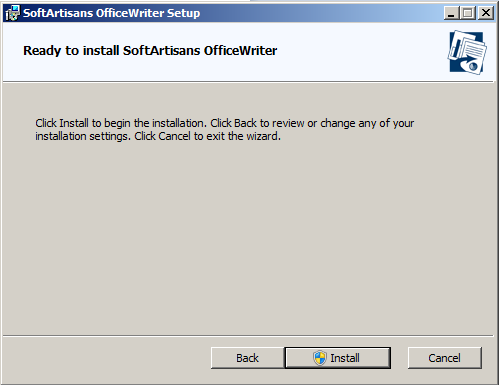
Click Install to start the installation. This will:
- Install OfficeWriter for Reporting Services, which will make changes to some Report Server config files and copy some dlls to the Reporting Services bin directory. For more information see the instructions to [manually install OfficeWriter for SSRS].
- Register the license key provided earlier
- Unpack the files listed below
Unknown macro: {align}
Installation Files
||
Prodcut ||
File ||
Description ||
|
ExcelWriter |
SoftArtisans.OfficeWriter.ExcelWriter.dll |
- .NET ExcelTemplate object
- .NET ExcelApplication object (EE only)
|
|
WordWriter |
SoftAartisans.OfficeWriter.WordWriter.dll |
- .NET WordTemplate object
- .NET WordApplication object (EE only)
|
|
Reporting Services Integration |
SoftArtisans.OfficeWriter.SSRS2008.dll or SoftArtisans.OfficeWRiter.SSRS2005.dll |
- SSRS integration assembly for SSRS 2008 (R2) or SSRS 2005
|
|
OfficeWriter Designer Installer |
OfficeWriterDesigner-Installer-8.#.#.msi |
Installer for the client-side OfficeWriter Designer |
|
License Manager |
LicenseManager.exe |
Manage, add, and remove license keys for OfficeWriter. |
|
SharePoint Integration |
SoftArtisans.OfficeWriter.ExcelWriter.SharePointIntegration.dll
SoftArtisans.OfficeWriter.WordWriter.SharePointIntegration.dll |
SharePoint Specific Functions (EE only) |
If you chose not to install any of the above components, they will not be unpacked to the destination folder.
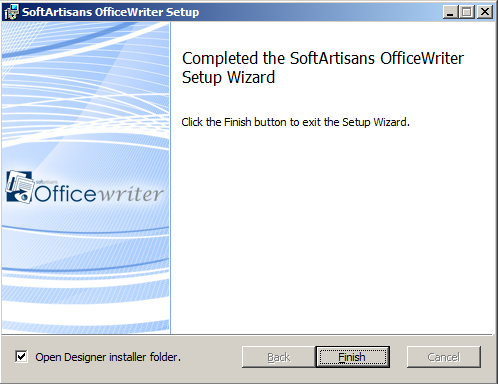
7. Setup Complete
Manual Installation
To install OfficeWriter the first time, run the automatic installation. Once the OfficeWriter installer has unpacked the dll files that contain OfficeWriter, you can re-install OfficeWriter manually (for example, if you are moving OfficeWriter to a different server):
- Make sure that the following are installed on the server:
#* Microsoft .NET Framework Redistributable version 2.0 (or later)
#* MS Reporting Services 2005 or 2008
# Copy the following files to <MSSQL Directory>\Reporting Services\ReportServer\bin
- SoftArtisans.OfficeWriter.RS2005.dll (for Reporting Services 2005) or SoftArtisans.OfficeWriter.RS2008.dll (for Reporting Services 2008)
- SoftArtisans.OfficeWriter.WordWriter.dll
- SoftArtisans.OfficeWriter.ExcelWriter.dll .
# Run LicenseManager.exe to install the OfficeWriterEE or OfficeWriterSE key.
# Modify the RSReportServer.config file in <MSSQL Directory>\Reporting Services\ReportServer. Copy the following report rendering extension declaration to the file's <Render> node:
For Reporting Services 2005:
{newcode:language=xml}
<Configuration>
<Extensions>
<Render>
<Extension Name="XLTemplate" Type="SoftArtisans.OfficeWriter.ReportingServices.ExcelTemplateRenderer,
SoftArtisans.OfficeWriter.RS2005"/>
<Extension Name="WordTemplate" Type="SoftArtisans.OfficeWriter.ReportingServices.WordTemplateRenderer,
SoftArtisans.OfficeWriter.RS2005"/>
</Render>
</Extensions>
</Configuration>
For Reporting Services 2008:
{code:xml}
<Configuration>
<Extensions>
<Render>
<Extension Name="XLTemplate" Type="SoftArtisans.OfficeWriter.ReportingServices.ExcelTemplateRenderer,
SoftArtisans.OfficeWriter.RS2008"/>
<Extension Name="WordTemplate" Type="SoftArtisans.OfficeWriter.ReportingServices.WordTemplateRenderer,
SoftArtisans.OfficeWriter.RS2008"/>
</Render>
</Extensions>
</Configuration>
{note}You will likely already have the "FirstMatchCodeGroup" CodeGroup element in your Render node. You should only need to copy the innermost CodeGroup element (Name="SoftArtisans_OfficeWriter_Strong_Name").
- To install the samples, upload the RDL files in OfficeWriter\ReportingServices\Samples to the Reporting Server using Report Manager.
Unable to render {include} The included page could not be found.

