Intro
The OfficeWriter SQL Server Reporting Services integration has two parts:
- The server-side OfficeWriter renderer (export)
- A client-side Office add-in for designing reports - the original OfficeWriter Designer or the OfficeWriter Designer .NET.
The server-side OfficeWriter is installed with one of the OfficeWriter installers (32 or 64 bit). The OfficeWriter Designer and the OfficeWriter Designer .NET have separate installers that can be distributed to end-users.
Jump to:
Automatic Installation
Introduction
The OfficeWriter 8 installer is available in 64-bit (OfficeWriter-Installer-8.#.#-x64.msi) and 32-bit (OfficeWriter-Installer-8.#.#-x86.msi). The bitness refers to the bitness of the operating system, not the version of SQL Server Reporting Services.
There is a single OfficeWriter installer that that handles installing any configuration of OfficeWriter, regardless of which edition (SE or EE) or components (ExcelWriter, WordWriter, SSRS integration) you have purchased.
Running the Installer
Check that your system meets the [System Requirements]. You MUST have SQL Server Reporting Services installed on the machine that you are trying to install OfficeWriter for SSRS. If SSRS is not detected, it will not be available as a custom setup option.
The OfficeWriter for SSRS integration requires modifying several SSRS config files and adding DLLs to the bin directory. To ensure a stable installation, STOP the SQL Server Reporting process before installing OfficeWriter.
Double click the msi to begin installing OfficeWriter for .NET:
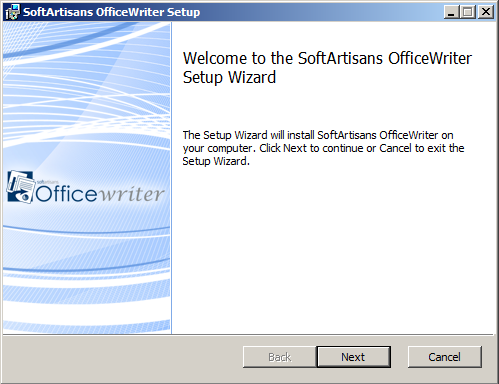
Click Next to proceed to the End-User License Agreement.
Read the End-User License Agreement and click Next when finished.
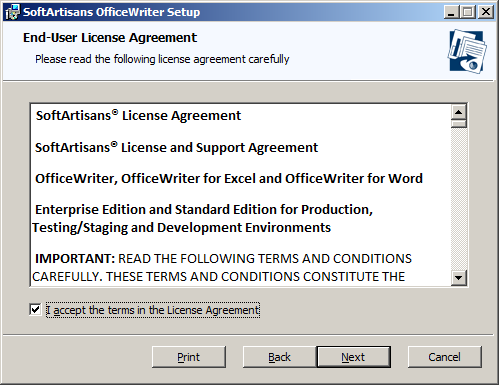
Click Next to proceed to the license key entry.
You will be prompted for a license key. Enter a license key into the box and click Add Key.
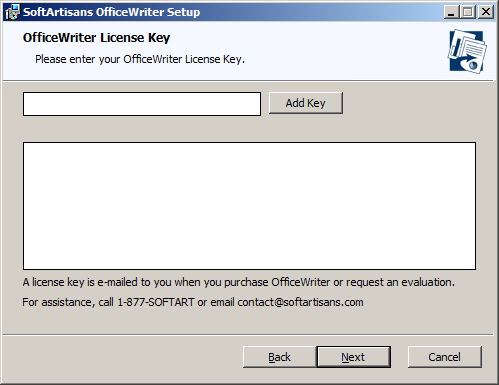
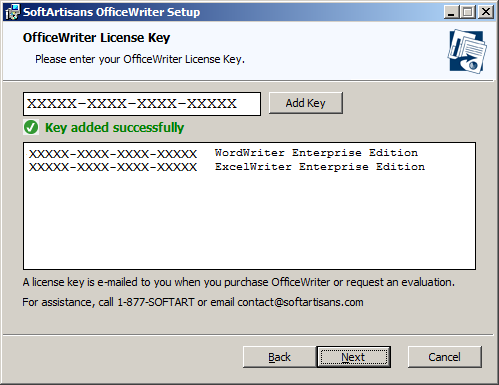
The installer will confirm what edition (Standard or Enterprise) and product the license key is. Multiple license keys can be entered at this step. Click Next to proceed to the custom setup options.
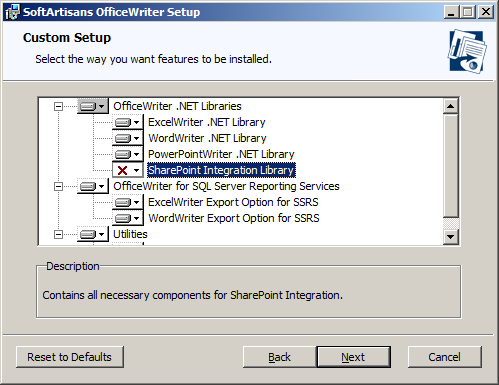
You will need to select the components to install. To include or exclude any components from your installation, click on the drop-down next to the component. Click *Next* when done.
The destination folder is where the OfficeWriter assemblies and utilities will be unpacked. By default, the destination folder will be C:\Program Files\SoftArtisans\OfficeWriter. Click Next when done.
SSRS-specific assemblies will be unpacked to a subfolder called Reporting Services.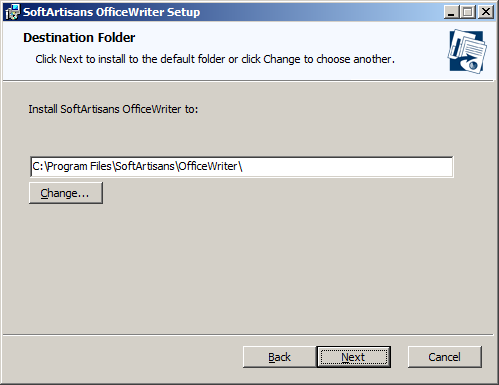
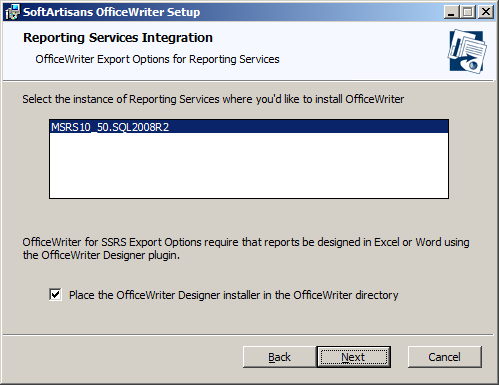
The installer will attempt to locate any instances of SQL Server Reporting Services on the machine. Select the installation to add OfficeWriter to.
You will also be given the option to unpack the original OfficeWriter Designer installer to the destination folder. This is recommended. Click Install when done.
The OfficeWriter installer requires administrative privileges to write the license key to the registry. On Windows Vista and above, depending on your UAC settings, you may be prompted for UAC elevation during the installation process.
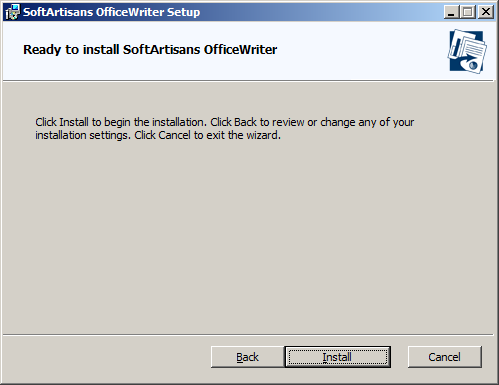
Click Finished to exit the installer.
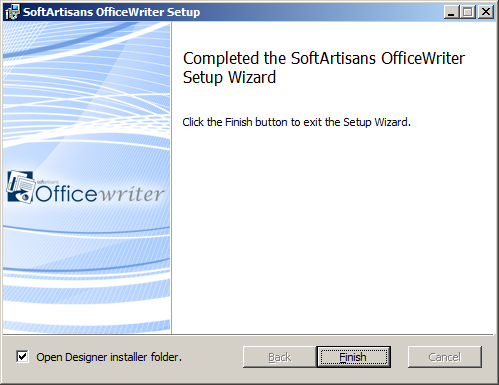
START the SQL Server Reporting Services process to complete the installation process.
Manual Installation
Installation Files
The following files are unpacked to the destination folder selected during the automatic installation process and are needed for the manual installation process.
Installation Files
| Product | File | Description |
|---|---|---|
| ExcelWriter | SoftArtisans.OfficeWriter.ExcelWriter.dll |
|
| WordWriter | SoftAartisans.OfficeWriter.WordWriter.dll |
|
| Reporting Services Integration | SoftArtisans.OfficeWriter.SSRS2008.dll or SoftArtisans.OfficeWriter.SSRS2005.dll |
|
| License Manager | LicenseManager.exe | Manage, add, and remove license keys for OfficeWriter. |
Installing OfficeWriter for SSRS
Run the OfficeWriter installer on another machine with SQL Server Reporting Services to unpack the necessary installation files (see above).
Make sure that your system meets the System Requirements.
Installing OfficeWriter for SSRS requires modifying several SSRS config files and dropping DLLs in the bin directory. STOP SQL Server Reporting Services process before installing OfficeWriter.
Copy the following files to <MSSQL Directory>\Reporting Services\ReportServer\bin
SoftArtisans.OfficeWriter.RS2005.dll (for Reporting Services 2005) or SoftArtisans.OfficeWriter.RS2008.dll (for Reporting Services 2008 or Reporting Services 2012)
SoftArtisans.OfficeWriter.WordWriter.dll
SoftArtisans.OfficeWriter.ExcelWriter.dll
Run LicenseManager.exe to install the OfficeWriterEE or OfficeWriterSE key
Modify the RSReportServer.config file in <MSSQL Directory>\Reporting Services\ReportServe*. Copy the following report rendering extension declaration to the file's <Render> node:
For Reporting Services 2005:For Reporting Services 2008 or 2012:
Modify the rssrvpolicy.config file in <MSSQL Directory>\Reporting Services\ReportServer. Add the following security trust codegroup to the file's <CodeGroup> node:
To install the samples, upload the RDL files in OfficeWriter\ReportingServices\Samples to the Reporting Server using Report Manager.
Automatic Installation
Where to get the installer
There are several places to get the OfficeWriterDesinger-Installer-8.#.#.msi:
- Program Files: The OfficeWriter Designer installer is included in the installation file for server-side component of OfficeWriter. It should be located under
C:\Program Files\SoftArtisans\OfficeWriter.
- OfficeWriter.com: The latest version of the OfficeWriter Desinger installer is also available separately for download on the Officewriter website.
- Evaluation E-mail: If evaluating, a link to download the OfficeWriter Designer separately is provided in the e-mail sent when evaluation started.
Running the installer
- Copy the OfficeWriter Designer install files to the client machine.
- Check that your system meets System Requirements for the OfficeWriter Designer. This includes a 32-bit version of Office 2007 or later with appropriate service packs and security patches, MS Query, and VBA.
- Close all Microsoft Office applications.
- If there are previous versions of the Designer installed, make sure to uninstall the OfficeWriter Designer through Add/Remove programs or Programs and Features.
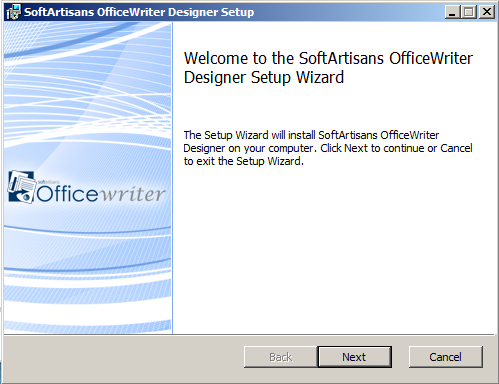
- Double-click OfficeWriterDesigner-Installer.msi to begin the OfficeWriter Designer installation.
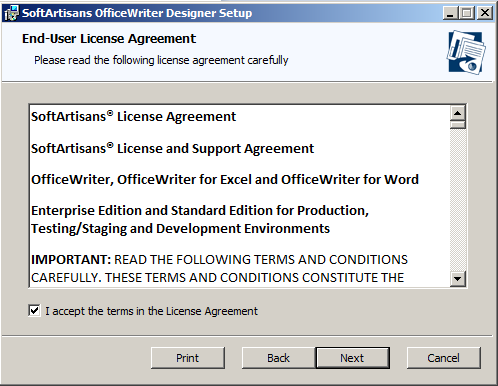
- Read the End-User license agreement.
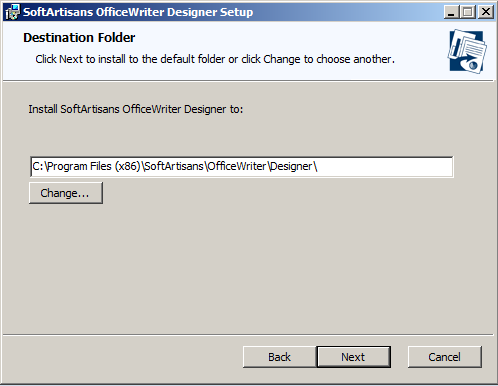
Select the Destination Folder. This installer will unpack some samples of pre-designed reports and the Designer installation source files.
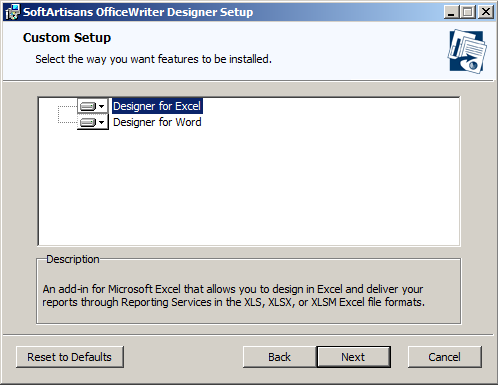
- Select whether to install the OfficeWriter Designer Add-In for Excel, Word or both. If the installer detects that either Excel or Word is not installed on the machine, you will not have the option to install the Add-In for the missing application.
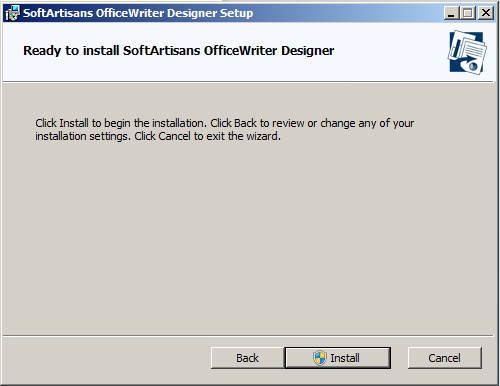
- The OfficeWriter Designer installer requires administrative privileges to register a few components used by the Add-In. You will be prompted for administrative credentials before the installation can complete.
Manual Installation
- Run the automatic installation on one machine in order to unpack the OfficeWriter Designer files. After these files have been unpacked, you can install the OfficeWriter Designer manually on other machines
- Close all Microsoft Office applications.
- Open a command prompt window and move to the directory OfficeWriter\Designer. For example, enter cd C:\Program Files\SoftArtisans\OfficeWriter\Designer.
- Enter regsvr32 SARS8CLT.dll. A dialog box will inform you that SARS8CLT.dll registered successfully; click Ok.
- Enter regsvr32 OWAssist.dll. A dialog box will inform you that OWAssist.dll registered successfully; click Ok.
Enter regsvr32 XFClient.dll. A dialog box will inform you that XFClient.dll registered successfully; click Ok.
- Copy OWDesigner_Ribbon.dotm from OfficeWriter\Designer to
%appdata%\Microsoft\Word\STARTUP. - Copy OWDesigner_Ribbon.xlam from OfficeWriter\Designer to
%appdata%\Microsoft\Excel\XLSTART. - Create the Registry Key settings as described below.
To change an OfficeWriter Designer registry key value:
- Open the Start menu and select Run.
- Enter regedit and click Ok.
- Open the folder HKEY_CURRENT_USER\Software\SoftArtisans\OfficeWriter\Designer.
- Double-click the key you want to update. A dialog will open.
- In the Value Data field, enter a new value for the key.
OfficeWriter Designer Registry Keys
Key | Type | Value Description |
|---|---|---|
Toolbar Caption Style | REG_DWORD | 1 - Icon only |
Enable MSQuery | REG_DWORD | 0 - Disable 'Add Query', 'Edit Query' and 'Delete Query' buttons. (default) |
Always Ask Param Values | REG_DWORD | 0 - Don't ask for parameter values in reports with parameters if valid default values are specified in the RDL file. |
Excel AddIn Default Renderer | REG_SZ | Rendering extension used for viewing report without template in Excel Add-In. "EXCEL" is default. |
Word AddIn Default Renderer | REG_SZ | Rendering extension used for viewing report without template in Word Add-In. "HTML4.0" is default. |
Debug | REG_SZ | "True" - Enables SOAP request and response dump to c:\temp\PayloadDump.xml and c:\temp\ResponseDump.xml correspondingly. |
No Overwrite Prompt | REG_DWORD | 1 - Don't prompt to overwrite RDL file in Save As dialog. |
Validate Fields | REG_DWORD | 1 - Validate that each template data field has a field in the data source that binds to it. Generates error on "Save" on the client instead of error on "View" on the server. |
Hide Enterprise Features | REG_DWORD | 1 - Hides Insert Formula drop-down. |
No Enterprise Features Warning | REG_DWORD | 1 - Disables Enterprise Feature warning. |
Help File Path | REG_SZ | Path to chm file. Default value is C:\WINDOWS\Help\OfficeWriterRS.chm |
SamplesDir | REG_SZ | Path to the root or samples (RDL) directory. Default value is C:\Program Files\SoftArtisans\OfficeWriter\Designer\samples |
InstallDir | REG_SZ | Path to install directory. C:\Program Files\SoftArtisans\OfficeWriter\Designer |
WordUseOpenFileMRU | REG_DWORD | 0 - Use SampleDir once, then switch to 1 |
ExcelUseOpenFileMRU | REG_DWORD | 0 - Use SampleDir once, then switch to 1 |
ServerMRU | Subkey | Keeps a list of most recently used (MRU) servers. |
How to change an OfficeWriter ServerMRU (most recently used servers) registry key value:
- Open the Start menu and select Run.
- Enter regedit and click Ok.
- Open the folder HKEY_CURRENT_USER\Software\SoftArtisans\OfficeWriter\Designer\ServerMRU.
- Double click the key you want to update. An dialog will open.
- In the Value Data field, enter a new value for the key.
Key | Type | Value | Value Description |
|---|---|---|---|
Maximum Entries | REG_DWORD | optional, | Maximum entries in MRU list. Entries at the bottom of the list are removed to accommodate new server URLs. |
MRU# | REG_SZ | Server URL (full) | http://<servername>/ReportServer |
Where to get the installer
There are several places to get the OWDesigner.Net-8.x.x.msi installer:
- OfficeWriter.com: The latest version of the OfficeWriter Designer .NET installer is available for download on the OfficeWriter website.
- Evaluation e-mail: Links to download the latest versions of all the OfficeWriter installers are available in the e-mail sent when an evaluation is started. Sign-ups for evaluations are online.
Running the installer
- Copy the OfficeWriter Designer .NET installer to the client machine.
- Check that your system meets the System Requirements.
- Close all Microsoft Office applications
- If there are previous versions of the OfficeWriter Designer .NET installed, make sure to uninstall the OfficeWriter Designer .NET through Programs and Features.
- Double-click OWDesigner.NET-8.x.x.msi to begin the Designer .NET installation.
- Read the end-user license agreement.
- Check off I accept the terms in the license agreement when finished and then click Install to install the OfficeWriter Designer .NET
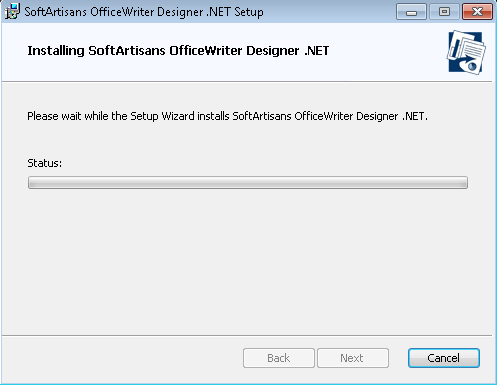
- When the installer is finished, click Finish to exit the installer.
- Open Excel 2007 or later.
If you have never installed a version of the OfficeWriter Designer .NET on your installation of Office, you may be prompted to add SoftArtisans as a trusted publisher. Add SoftArtisans as a trusted publisher to complete the installation.
